
Hello all, I've Owned 2 different Crx's over the last 4 years and i honestly must say Its one of my favorite cars. I picked this thing up a few weeks back, and after playing catch up with my new job and bills i am finally ready to begin building this thing!
Currently done :
D16z6, Completely rebuilt (bottom and top end mostly to OEM spec)
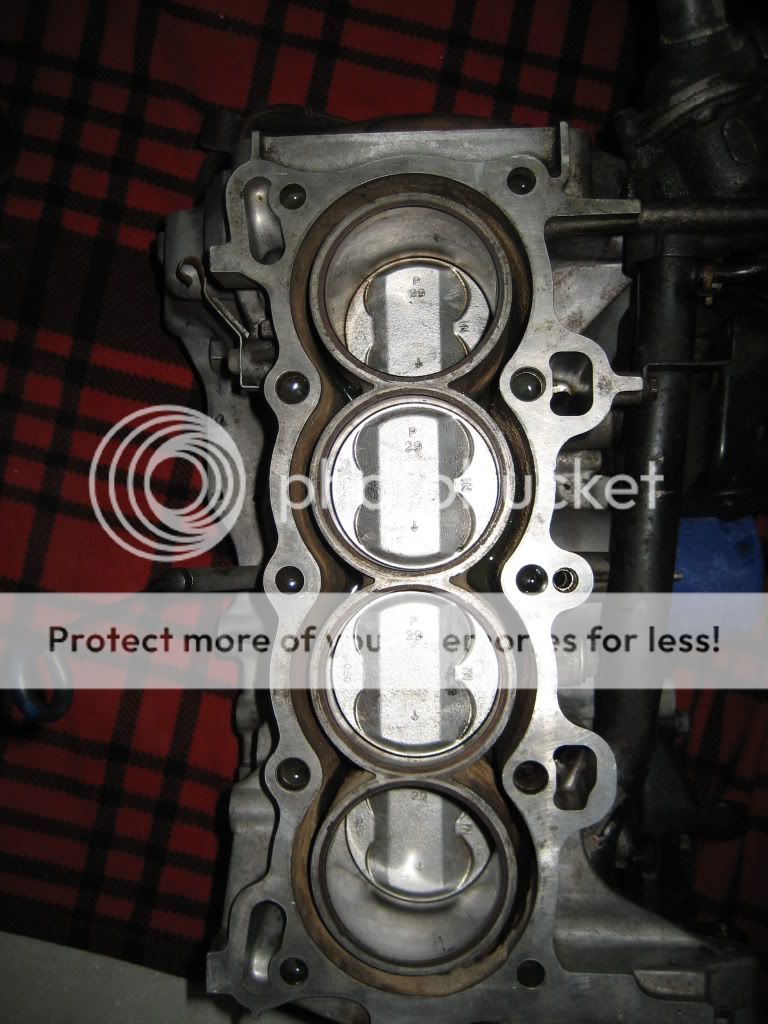
p29 pistons,
D15b Cam (slightly more aggressive)
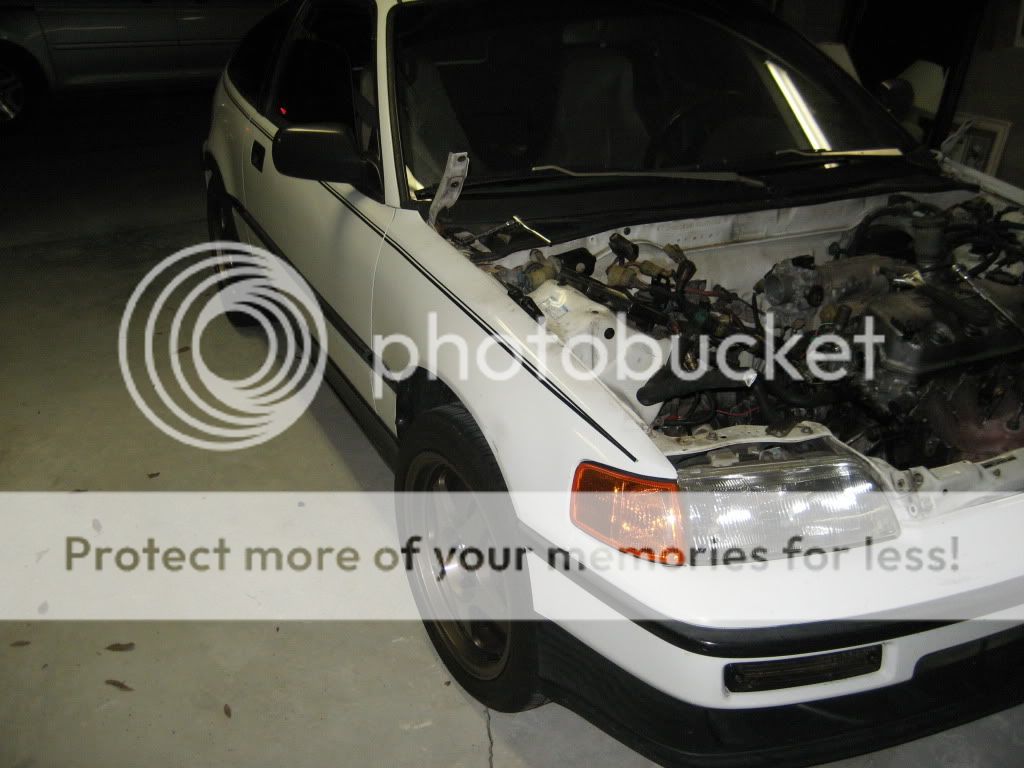
Wire tuck (first time doing it was not as hard as i thought!!)
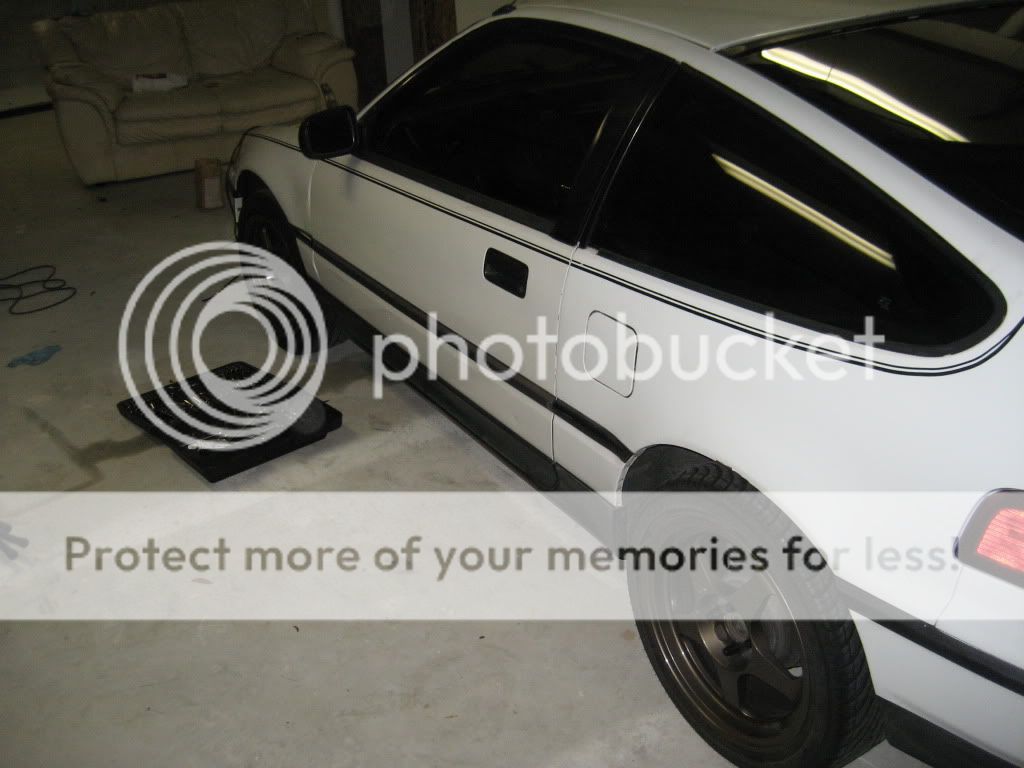
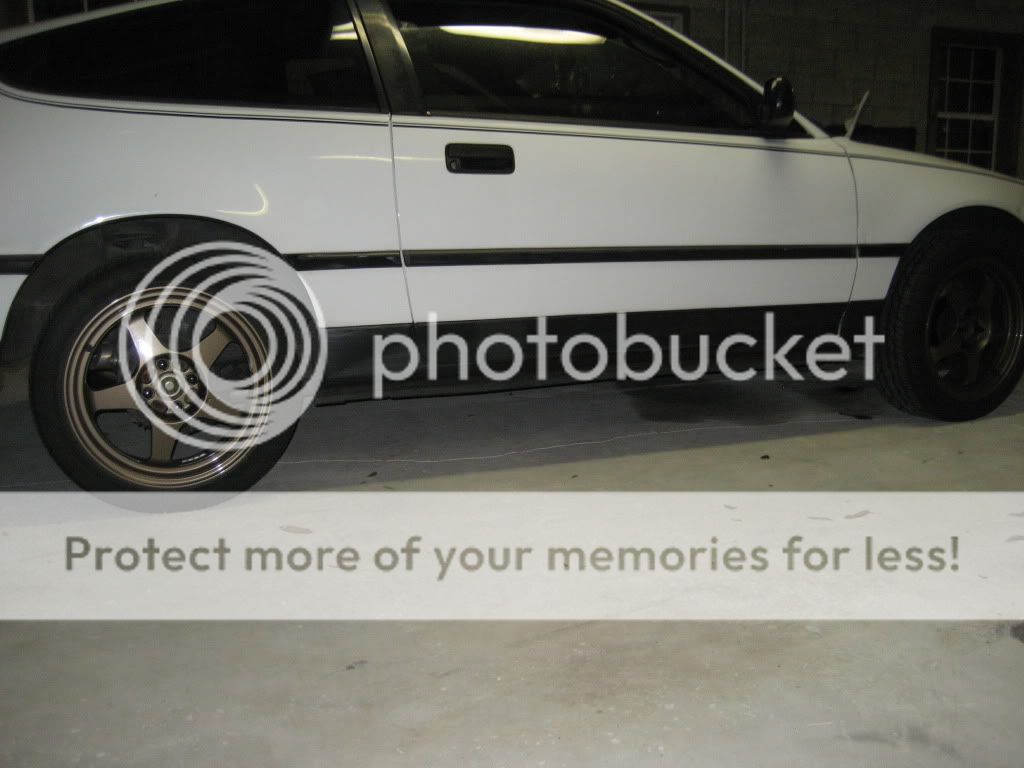
New suspension - tokico + GC's
Chase Bays Engine harness
To be done :
Replace ALL Bushings and Ball joints Throughout suspension.
New LCA's
New Intake + Throttle body
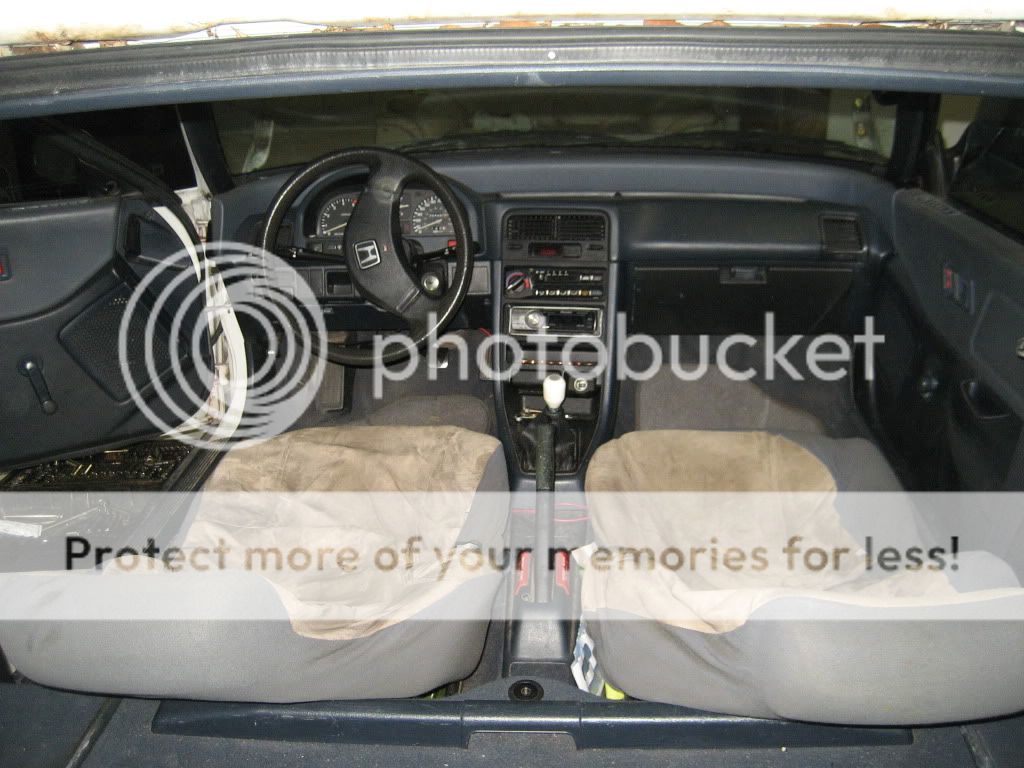
Full Si Interior swap (if i can find a nice set, if not going to Dye / SEM paint my current interior)
New Seats - OEM or s2k's
Integra GSR rear disc assembly's
Upgrade Front Rotors
last but not least after getting this car back to tip top shape handling wise, i already have a spare z6 long block ready to be built for boost!!
![Image]()
![Image]()
![Image]()
![Image]()
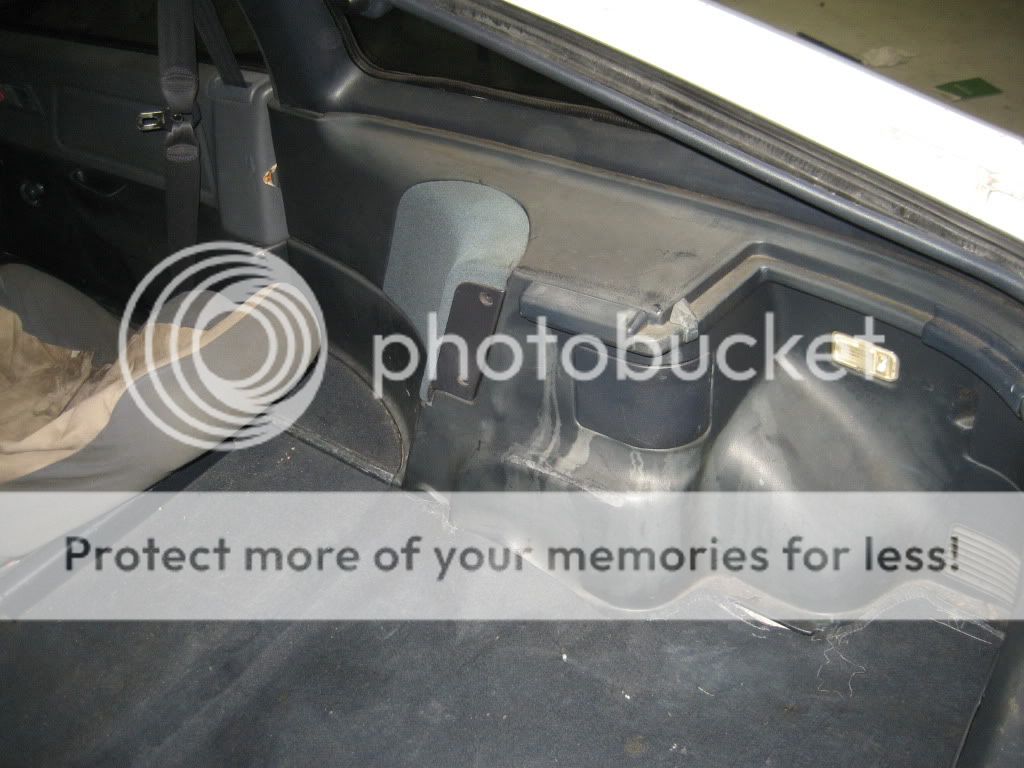
pretty messed up seats wtb a clean pair if anyone has em?
![Image]()
![Image]()
![Image]()
![Image]()
![Image]()
![Image]()
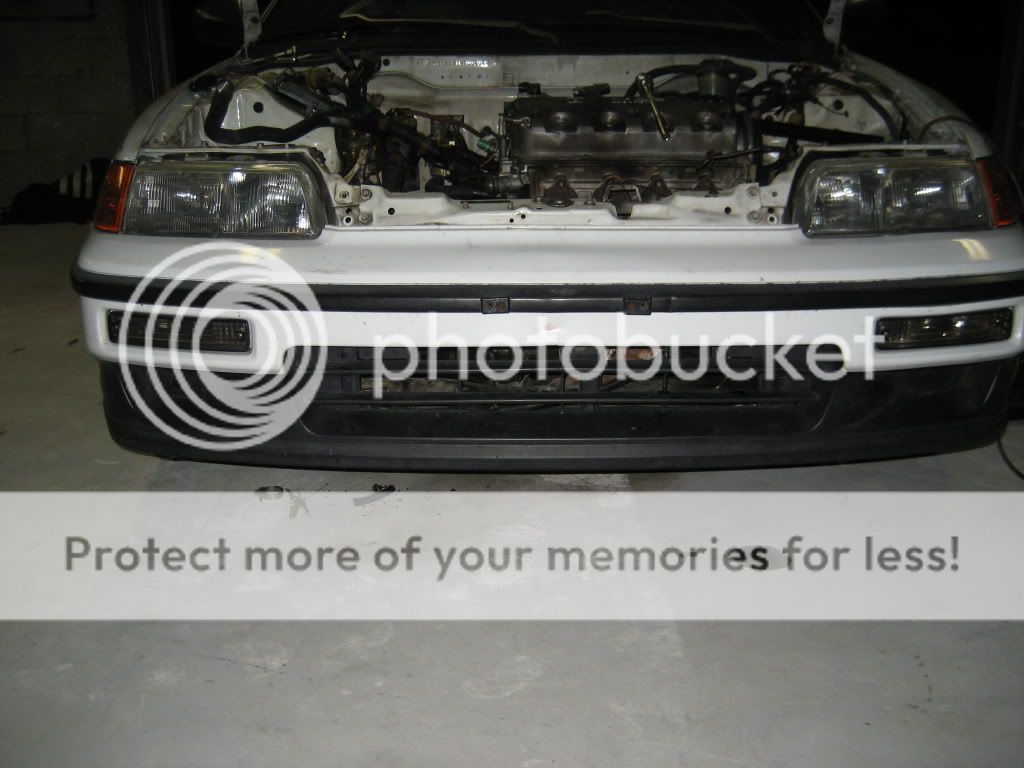
THIS MOTOR.... i have no words to express how rigged this thing was when i got this car... it had a b18 dizzy, only 1 bolt matched up ahha, the guy has a Vtec wire running through the car for a Hand switch.... i just cut it, i didnt feel like bothering with it, its a d15b Z6 head. and they never swapped to the y8 sprocket so the timing is off, between that and the dizzy... you could only image how bad it was.
![Image]()
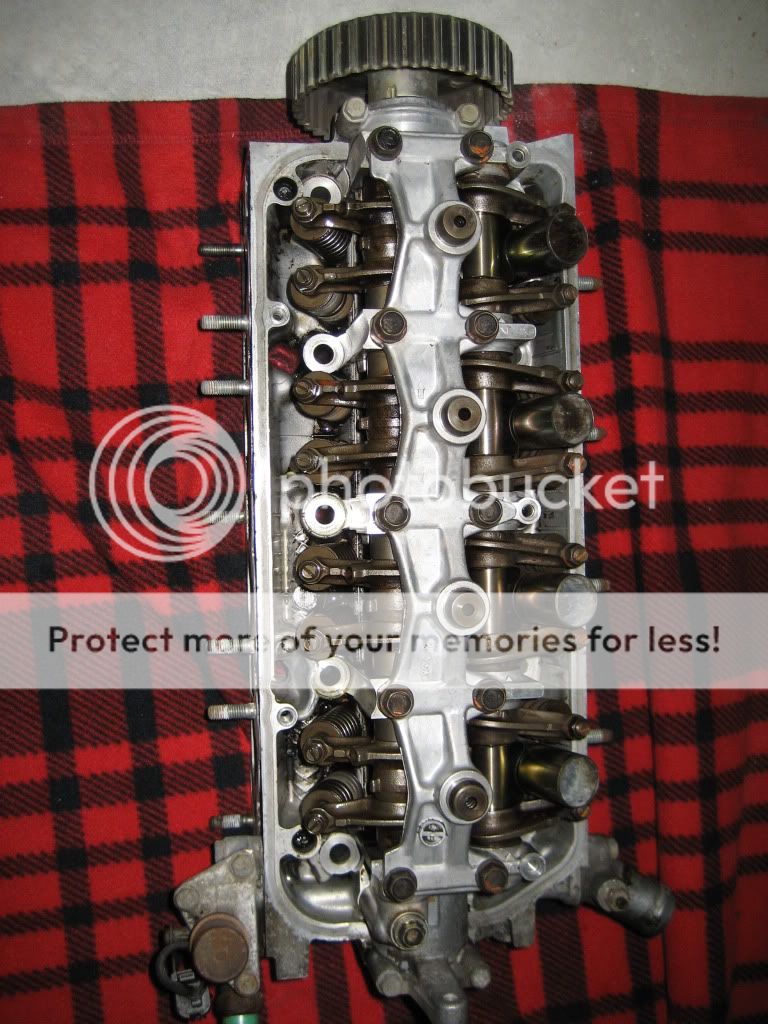
New motor, its a d16z6, The guy i got it from i didnt believe him but he said it had about 200 miles on it, so i went drove it and it pulled hard for what it is, so i was like ok ill buy it, pulled the motor last friday, then sat outside all saturday and Toothbrushed the hell out of this thing.
Here are my results :
![Image]()
![Image]()
More pics to come, Still gotta pull the motor all the way out, and clean the Bay, Possibly this week i will pick up some Interior Semi gloss and repaint it Black, i am pretty partial to my blue that i have right now, and I loved the Black and Grey my SI came with.
Currently done :
D16z6, Completely rebuilt (bottom and top end mostly to OEM spec)
p29 pistons,
D15b Cam (slightly more aggressive)
Wire tuck (first time doing it was not as hard as i thought!!)
New suspension - tokico + GC's
Chase Bays Engine harness
To be done :
Replace ALL Bushings and Ball joints Throughout suspension.
New LCA's
New Intake + Throttle body
Full Si Interior swap (if i can find a nice set, if not going to Dye / SEM paint my current interior)
New Seats - OEM or s2k's
Integra GSR rear disc assembly's
Upgrade Front Rotors
last but not least after getting this car back to tip top shape handling wise, i already have a spare z6 long block ready to be built for boost!!
pretty messed up seats
wtb a clean pair if anyone has em?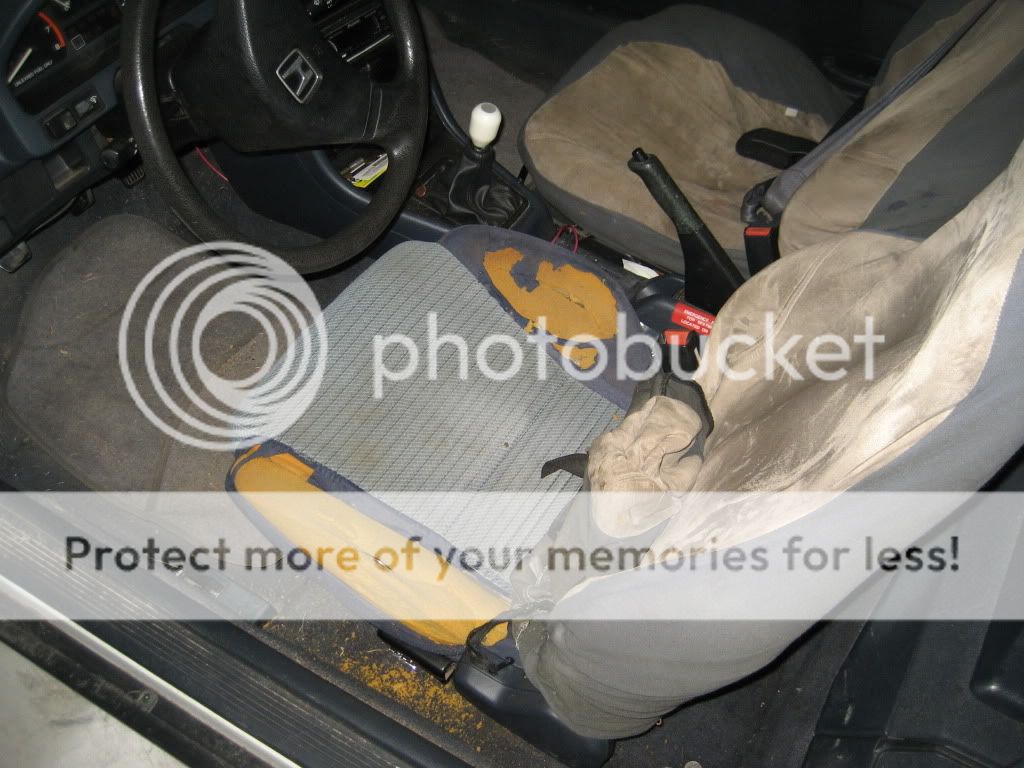
THIS MOTOR.... i have no words to express how rigged this thing was when i got this car... it had a b18 dizzy, only 1 bolt matched up ahha, the guy has a Vtec wire running through the car for a Hand switch.... i just cut it, i didnt feel like bothering with it, its a d15b Z6 head. and they never swapped to the y8 sprocket so the timing is off, between that and the dizzy... you could only image how bad it was.
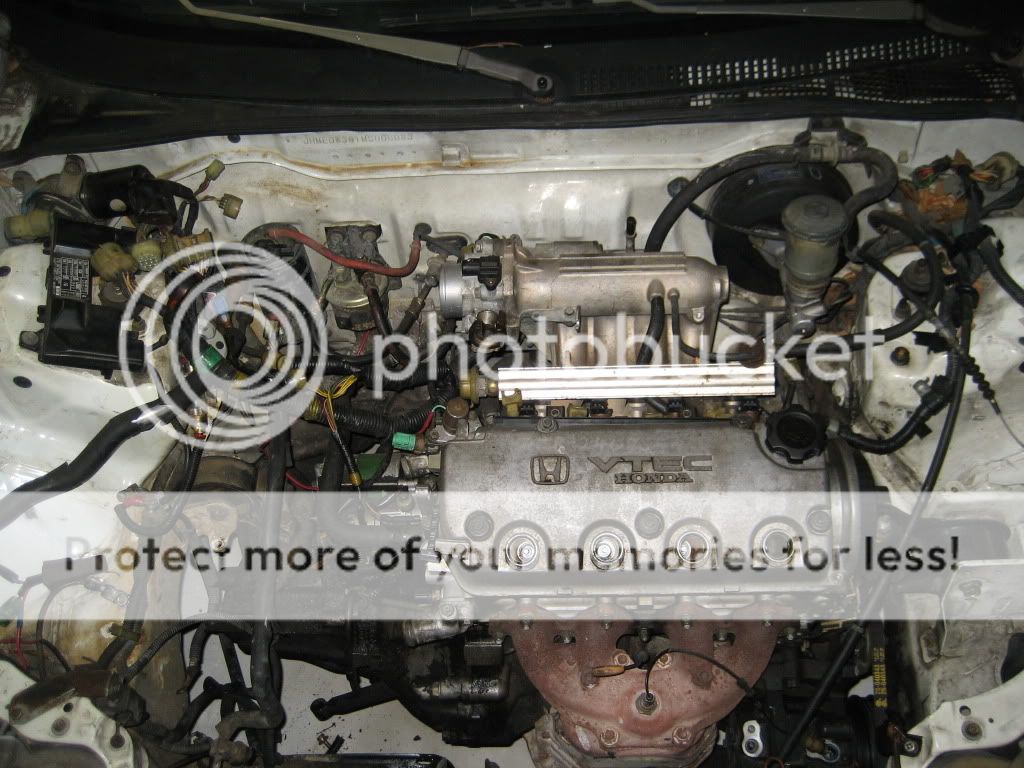
New motor, its a d16z6, The guy i got it from i didnt believe him but he said it had about 200 miles on it, so i went drove it and it pulled hard for what it is, so i was like ok ill buy it, pulled the motor last friday, then sat outside all saturday and Toothbrushed the hell out of this thing.
Here are my results :
More pics to come, Still gotta pull the motor all the way out, and clean the Bay, Possibly this week i will pick up some Interior Semi gloss and repaint it Black, i am pretty partial to my blue that i have right now, and I loved the Black and Grey my SI came with.


